Install WordPress the Right Way: A Practical Step-by-Step Guide
A calm, step-by-step walkthrough that shows website owners how to install WordPress correctly, from pre-install checks and SSL setup to the first login and post-install cleanup.
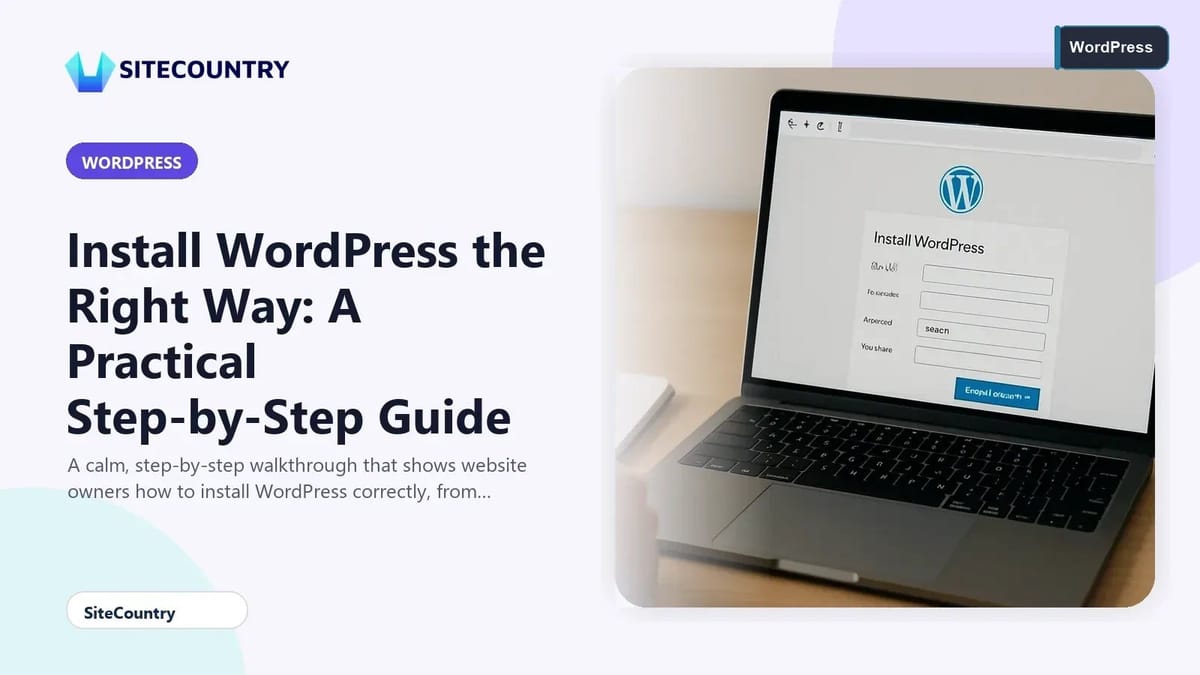
Installing WordPress does not have to feel overwhelming. With a clear checklist, the actual install takes only a few minutes, and the real payoff comes from the decisions you make before and after that screen. This guide walks website owners, bloggers, and developers through a stress-free first install of WordPress, whether you use a one-click installer in your control panel or prefer the manual route.
The focus is on the practical choices that protect you from broken images, redirect loops, and surprise redirects later. If you follow the order below, your install will be ready for content, plugins, and search engines on day one.
Key Takeaways
- Sort the domain, PHP, database, and SSL certificate before you open the installer.
- Always install over HTTPS so siteurl and home are stored correctly in the database.
- WordPress 7.0 requires PHP 8.3+ and MariaDB 10.11 or MySQL 8.0+, with HTTPS on every install.
- Pick Protocol and Installation Path carefully in one-click installers; they shape your URL structure for the life of the site.
- Lock down the admin username, password, and email before you publish your first page.
What You Need Before You Install WordPress
The installer only does the last mile. Three things should already be in place: a domain you control, a WordPress hosting account with PHP and a database, and a working SSL certificate on that domain. If any of those are missing, pause and finish the setup first.
Your domain is more than a label. Changing the hostname later turns into a migration rather than a settings change. If a temporary URL is unavoidable because the live domain already serves traffic, plan to migrate with a tool like Duplicator or All-in-One WP Migration once the new build is ready.
Understanding WordPress 7.0 Requirements
Two sets of numbers float around WordPress hosting requirements, and both can be correct. A site can run on older database versions, but those releases are past end of life and no longer receive security fixes.
The current release line is WordPress 7.0, with version 7.0.2 published on July 17, 2026, on the branch that arrived in May under the codename Armstrong. The 7.0 dashboard has been redesigned, so older screenshots in tutorials may look unfamiliar. A new command palette on Cmd+K and a Connectors screen for AI provider integrations are part of the new layout.
| Component | Recommended | Hard Minimum |
|---|---|---|
| PHP version | 8.3 or greater | 7.4 |
| Database | MariaDB 10.11 or MySQL 8.0+ | MySQL 5.5.5 |
| SSL/TLS | Required for every install | Required for every install |
| Web server | NGINX or Apache with mod_rewrite | Any server that supports URL rewriting |
Set Up SSL Before You Install
HTTPS belongs on the domain before you open the installer, not a month later. Load it over plain HTTP and every media URL WordPress generates will use the same insecure protocol, which means switching on a certificate later breaks images and scripts.
A reverse proxy that terminates SSL can also cause a redirect loop when WordPress has no idea HTTPS is in use. The fix is to honor the X-Forwarded-Proto header in your configuration. Avoid both problems by issuing a free certificate through your host, confirming the domain loads over https in a browser, and only then running the installer.
Choosing Your Install Method
Two reliable routes reach the same finished install, and you only need one. Use a one-click installer when your host provides one and you want the site live now. Use the manual route when you want to see what the installer does on your behalf, or when your host does not offer an automated option.
An automated installer creates the database, writes wp-config.php, and runs the install script for you. Two fields in that flow matter more than the rest: Protocol and Installation Path. Protocol is where the HTTPS decision becomes real, so choose https. Installation Path decides whether WordPress sits at the root of the domain or inside a subdirectory. Leaving the path blank installs at the root, which is what most beginners want.
Installing WordPress With a One-Click Installer
Most modern control panels include a WordPress installer. The exact labels vary by host, but the path is similar across providers like the SiteCountry account manager, cPanel, or Plesk. A typical flow looks like this:
- Open your account manager and click Manage next to the domain you want to use.
- Find the Site or Applications section and open the App Installer or WordPress tool.
- Select WordPress from the application list and choose your language.
- Set Protocol to https, confirm the Domain Name, and decide on the Installation Path.
- Choose a strong Admin Username, Admin Password, and Admin Email.
- Click Install and wait for the success screen.
The full sequence usually takes about a minute once the fields are filled. None of those are required, and you can uncheck them without affecting the install.
The Manual WordPress Install
The manual route is useful when you want full visibility or when no installer is available. WordPress detects the missing wp-config.php and walks you through the database connection step.
Once the connection is confirmed, click Run the Install, supply the admin credentials, and WordPress writes wp-config.php for you. The whole process usually takes under five minutes. For a deeper walkthrough of the manual path, see the guide on how to install WordPress in your domain.
First Login and Post-Install Checklist
The install screen hands back an admin URL and the credentials you set. Bookmark it and log in for the first time. From there, work through a short checklist before you publish:
- Set permalinks to a readable structure such as Post Name so URLs stay clean.
- Confirm the site title and tagline match what visitors should see in search results.
- Delete the default Hello World post and Sample Page so search engines do not index empty content.
- Install only the plugins you need on day one, and remove any the installer pre-checked that you do not want.
- Configure a backup plugin or confirm that your host runs daily backups.
- Add a security plugin and turn on two-factor authentication for the admin account.
For a quicker way back into the dashboard in future sessions, follow the steps for how to login to WordPress in one click using SiteCountry manager.
Frequently Asked Questions
Do I need a domain before installing WordPress?
Yes, if you plan to keep the site. WordPress records the hostname used during install as the siteurl and home values in the database, so changing the hostname later turns into a migration. Buy and point the domain first, then run the installer.
What PHP and database versions should I run?
WordPress recommends PHP 8.3 or greater and MariaDB 10.11 or MySQL 8.0 or greater. The code still refuses to run below PHP 7.4 and MySQL 5.5.5, but older databases are past end of life and no longer receive security patches.
Why does SSL need to be active before I install?
The installer writes siteurl and home using the protocol and hostname used to load install.php. If you install over plain HTTP and add a certificate later, every media URL stored in the database will still point at http, which breaks images and scripts and can cause redirect loops.
Should I use a one-click installer or install WordPress manually?
Use a one-click installer when your host provides one and you want the site live quickly. The manual route makes sense when no installer is available or when you want to see what the installer does for you. Both reach the same finished install.
How do I log in to the WordPress admin area after installing?
Visit your domain followed by /wp-admin or /wp-login.php and sign in with the admin username and password you created during the install. Most hosts also offer a one-click login link inside the control panel so you do not need to remember the URL.
Conclusion
A clean WordPress install is mostly about order: domain, hosting, database, and SSL first, then the installer, then a short post-install checklist. Make the HTTPS decision before you click Install, choose https as the protocol, and leave the Installation Path blank if you want WordPress at the root. After the success screen, spend ten minutes on permalinks, plugins, backups, and the admin password. For a deeper look at what comes after launch, browse the latest WordPress 7.1 beta checklist and revisit your security stack once your content starts to grow. Spinorhino casino